
Setting up Phrase Translation
Setting up Phrase Translation
Prepare Github
- Go to Project -> Settings -> Collaborators and Teams
- Click "Add teams"
- Select
bcc-code/phrase-tms-translation - Select
Writepermission- Required so that pull requests can be created!
Access
If you do not have access to Phrase, please contact Reng.
IMPORTANT: You will be granted privileged access to Phrase. With great power comes great responsibility! Please do not change any settings other than what is specified here especially not global settings, as you can prevent all ongoing translations in BCC.
If you wish to experiment, please create a free Phrase trial account! Any changes not specified here need to be cleared with Milenko!
Integration
Check with Milenko what template should be used and how you should name the project
- Please note that this may require some work on Milenkos side and may not be immediate.
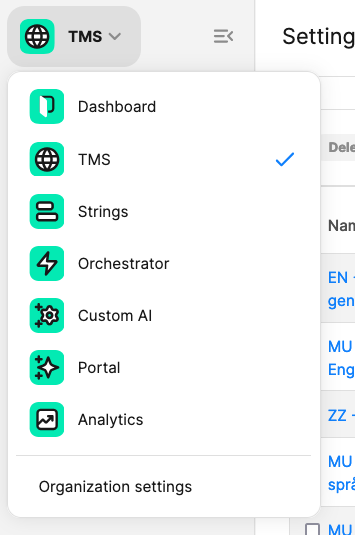
Make sure you are in Phrase TMS using the top left corner menu
Go to Settings -> Automated Project Creation -> New
Select "Create as ... " -> Create a continuous project
Select the template you agree with Milenko
Verify that the Source language is correct!
Under "Monitoring"
- Select "+ Monitor folder or file"
- Using the "Github" connector, select the branch you want to pull your data from
- Note: It may be tempting to go deeper, but this will cause you issues with exporting the files again!
- Monitor subfolder: True
- Filter by regex: True
- The regex needs to target the files in your source language.
- Regex examples
en\.json- Anyen.jsonfile anywhere in the repo(en\.json|en\.resx)-en.resx+en.jsonfiles anywhere in the repo.
- Should looks something like
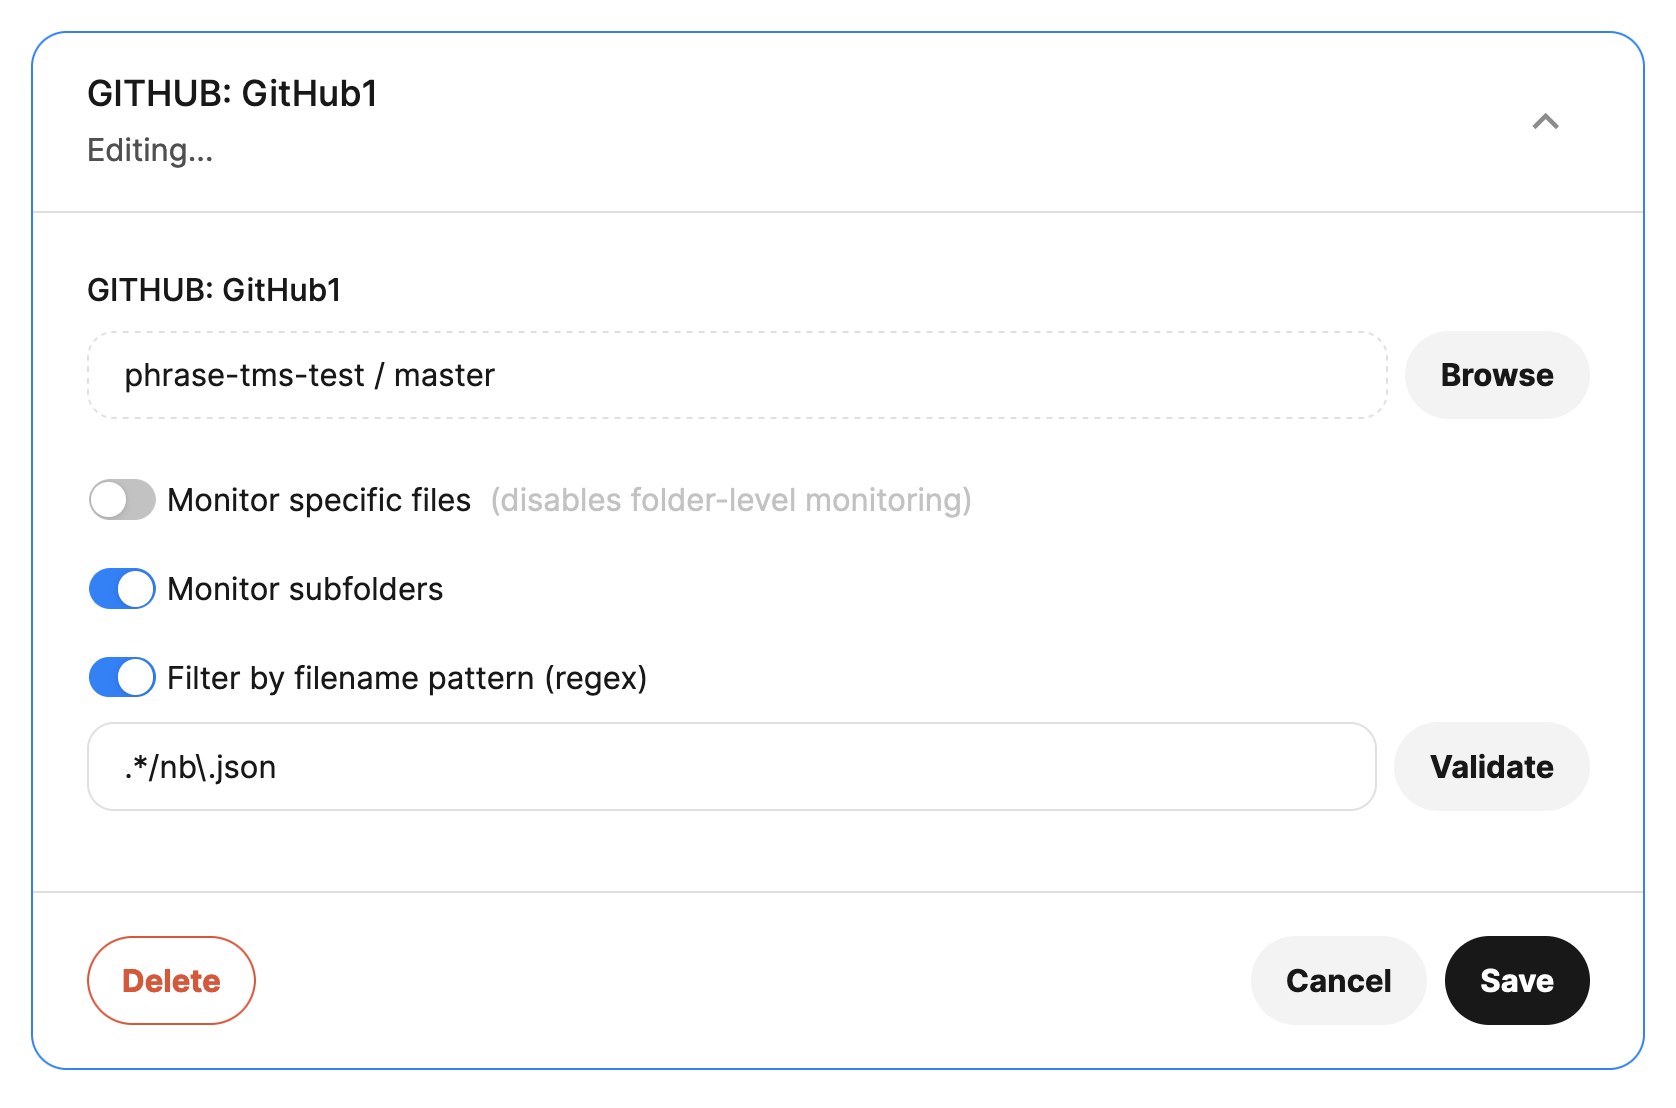
Click "Save"
Repeat as needed for each repository
Under "Translation Export" section (appears above "Monitoring" section after performing the previous step)
- Select "Add Export"
- Configure as follows:
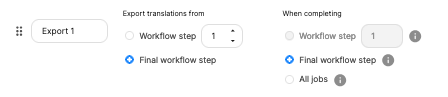
Click "Save"
In "Monitor Recurrence" section:
- Click "Add Monitor"
- Select "Webhook Based"
- Copy the webhook url to a safe location (we will use it later)
- Click "Add"
The section "Automation - Project actions" should be configured as follows:

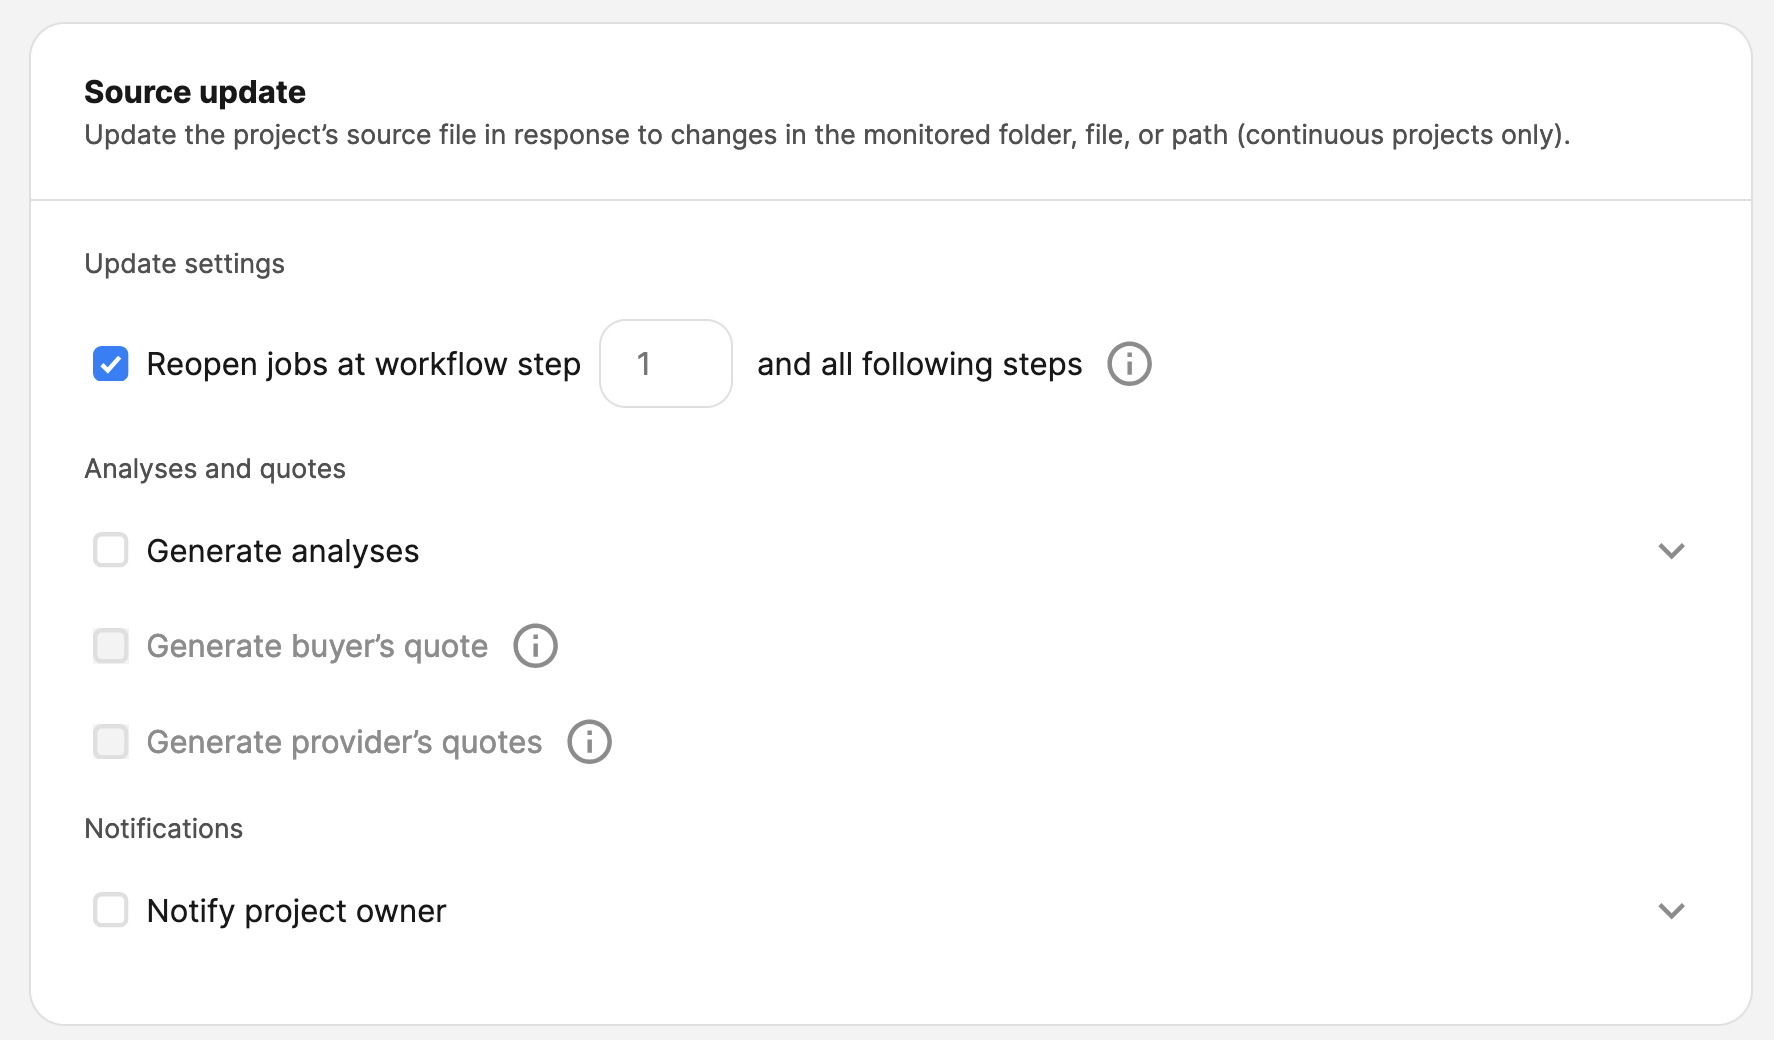
- The section "Source update" should be configured as follows:
- Save
Github Webhook
- Go to Github -> Your Project -> Webhooks -> New
- Paste in the webhook URL
- Keep all other settings as they are
- Save
Verify
Go to https://cloud.memsource.com/tms/automatedProjectCreation/list and find the APC project you created. It should be marked as "Active", and show "1 Project" in the end of the row like so:

Verify that the there are no errors/warnings and that the project is Active as shown in the picture. If there are issues please contact Support.
Next open the dropdown and select your project:
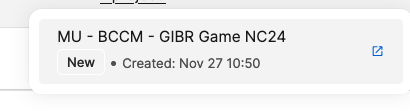
Validate that jobs have been created like so:
Notify Milenko that the new project is ready!
Export settings
By default the files will be exported to <original folder>/<2 letter language code>.<original extension>. For example the german translation of the /this/is/a/folder/blah_en.json file would be exported to /this/is/a/folder/de.json.
The setting for this behaviour are:
"Export online repository files to": /
"Add naming rules for completed files": {path}/{targetLang}
Changing export behaviour
Go to https://cloud.memsource.com/tms/automatedProjectCreation/list and find the APC project you created. It should be marked as "Active", and show "1 Project" in the end of the row like so:
Open the dropdown and select your project:
Click "Edit" on top right:
Select the "Completed file name and export path".
Here you can change the behaviour. Additional information about the placeholders can be found at https://support.phrase.com/hc/en-us/articles/5709608269980-Specifying-Completed-File-Names-and-Export-Paths-TMS
For example to get blah_de.json you would use:
"Export online repository files to": /
"Add naming rules for completed files": {path}/blah_{targetLang}
Importing existing translations
Go to https://cloud.memsource.com/tms/automatedProjectCreation/list and find the APC project you created. It should be marked as "Active", and show "1 Project" in the end of the row like so:
Open the dropdown and select your project:
Scroll down to "Translation Memories"
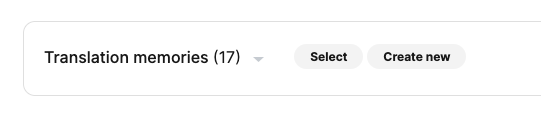
And click "Select"
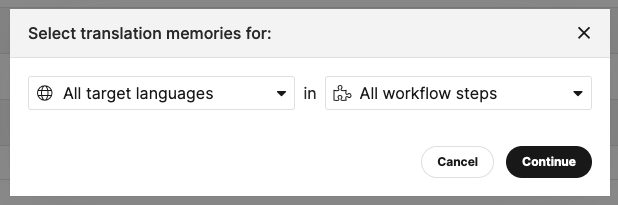
Keep the settings as they are and click Continue
On the left hand side find "169 - Crowdin Import"

Click the (+) sign on the end of the row.
Make sure the settings on right hand side are now as follows:

Click "Save All"
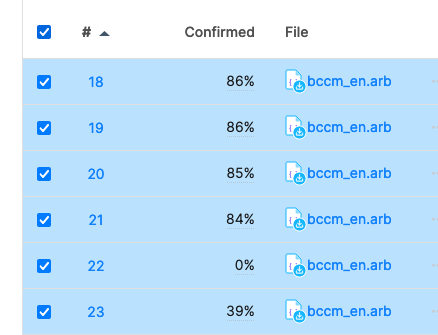
Select all jobs using the checkbox at the top:
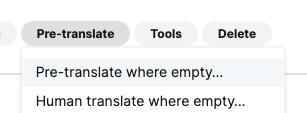
Select "Pre-Translate" -> "Pre-translate where empty...."
Set the configuration on next screen as shown here
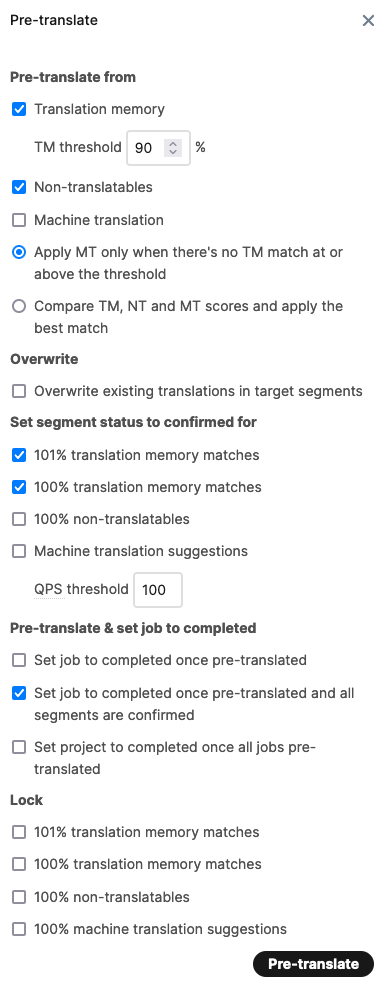
Click Pre-Translate
Wait a minute or two. After refreshing the page the "confirmed %" column should show > 0% like so:
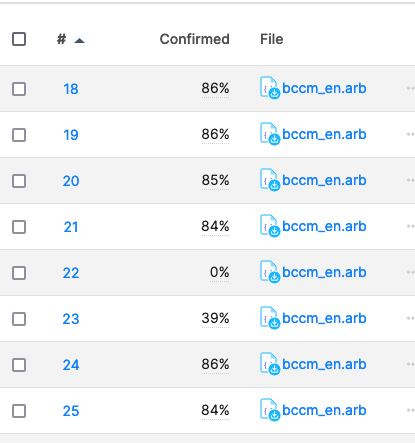
It is unlikely to reach 100% due to:
- Different split of text
- Different handling of placeholders